Hits: 10196
This article explains my way to install Amiga OS using FS-UAE under linux ubuntu.
There are many tutorials explaining how to install Amiga OS on a real Amiga using WinUAE under windows but none for the linux side of the world.
This is a bit different than on Windows. All the tutos I’ve read are for WinUAE on Windows, so, this is my two cents for the linux side.
Note : this tuto can be simply adapted for your Amiga 500 using the right fs-uae configuration, and downloading the good classic workbench package.
Contents
History
Arrrrgh ! The fast memory (128Mb snif) included on my aca1232 accelerator board seems to be a bit trashy, so Amiga OS 3.9 has problems to load correctly on my real a1200. After many attempts, i decided to downgrade to Amiga OS 3.1. This is a complete success as the OS is stable, fast, and because i don’t need more on my A1200 (making music and watching demos).
Fortunately, Linux understand Amiga OS FFS, and now it also understands Amiga partition tables, that helps a lot.
I have written and article on “how to access Amiga partitions on linux” there, i’ll use it as a base for this article.
Needed
- Workbench 3.1 disks (ADF and REAL, or HFE for HxC) – needed to boot on the amiga OS
- A blank CF card for installing the Amiga OS, and a CF card reader on your linux computer
- An internet connexion for downloading the classic workbench packages
- FS-UAE and Amiga ROMS
Formatting the CF card on the Amiga
First you need to create the partitions on the Amiga side.
launch HDToolBox
Create the first partition, in FFS (Fast File System). 1Gb is enough. Some tells it’s better to make it littler, but we will stay in FFS, wich implies we will not be able to mount partitions that are upper than 2Gb on the real amiga at the beginning, and we will maybe want to load stuffs (packages, pictures, …) from the linux side, so we will take the place we need.
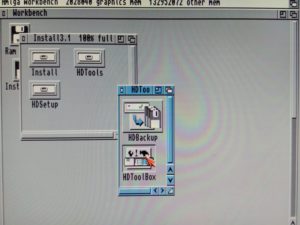
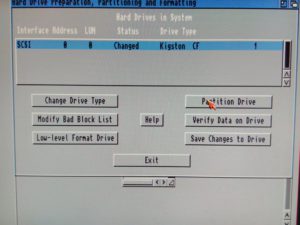
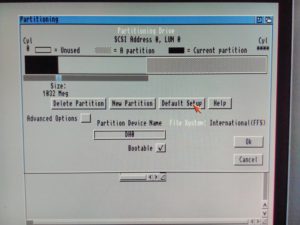
When done, format it
Swith off the Amiga
Mount the CF card on linux

YOUR TUTORIAL FOLLOWS BELOW. IT IS A HUGE WORK FOR ME TO WRITE THOSE TUTORIALS, SO SHOW ME YOUR SUPPORT IN LIKING MY FB PAGE BELOW :
Create a directory in media to host the amigaos partition :
sudo mkdir /media/amigaoscf
make it world writable
sudo chmod -R 777 /media/amigaoscf
and make it your own
sudo chown -R jess:jess /media/amigaoscf/
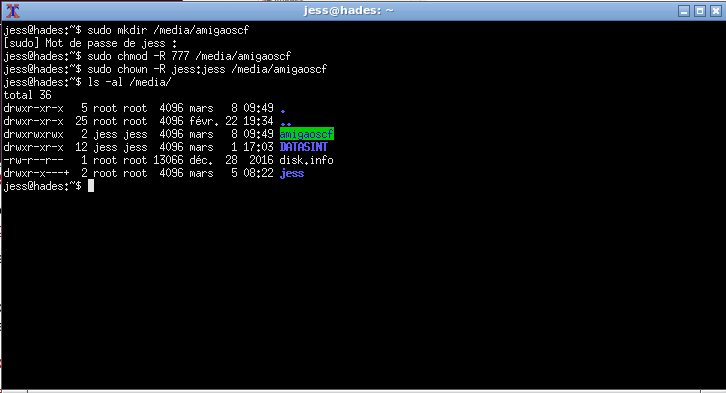
You need to know what is the name of the device when it comes to linux.
You can see it in the /devs/ directory : when inserting the CF card, the partition appear as “sdn1”, on my computer it is “sdc”.

So, you mount it manually cause it is not automatically recognized
sudo mount -t affs /dev/sdc1 /media/amigaoscf
make it world writable
sudo chmod -R 777 /media/amigaoscf
and make it your own
sudo chown -R jess:jess /media/amigaoscf/
It is needed each time you connect the CF card in linux. This is due to the security flags (rwed under linux and wed under FFS) that are differently understood by linux and by amiga os.

Get Classic WB ADVSP
Including Scalos, 16 colors palettes, many tools… it is a perfect installation for those who often reinstall AmigaOS like me those days !
http://classicwb.abime.net/classicweb/advsp.htm

Installing
FS-UAE config
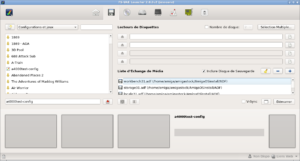
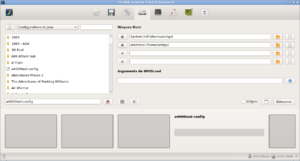
So you need to configure FS-UAE-LAUNCHER like this :
- First Hard Drive : System.hdf given with Classic WB package
- Second hard drive : a directory on you hard drive we will use to transfer the files from the hdf to the CF card. Some kind of temporary buffer if you prefer. I assume it is ~/amitrans
- ROMS : 3.x
- Chip : at least 2Mb
- Fast : at least 4Mb
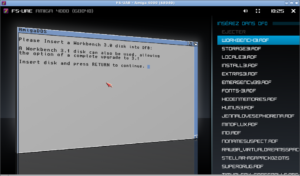
- DF0 : you must add all the Workbench 3.1 disks (Workbench3.1, Install3.1, Locale3.1, Storage3.1, Fonts3.1, extras3.1) to the DF0 switch list
Installation steps
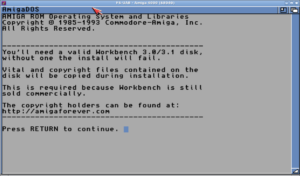
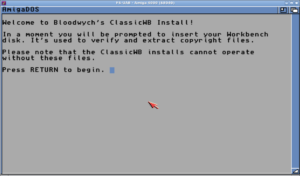
At boot time, the installer asks you to insert the disks into DF0: drive, so you just do what is asked
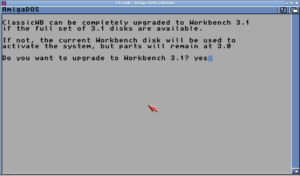
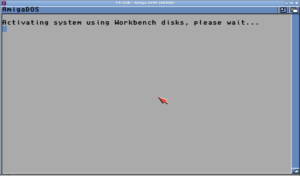
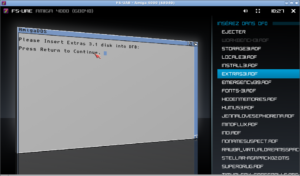
Packages Choice
- install artwork yes
- palette : optimized 16
- theme : regen
- aga copper : enabled
- stackattack enabled
- anticlick enabled
- freewheel enabled
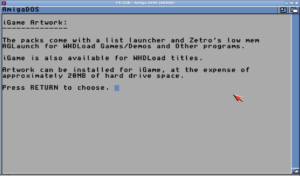
Eject DF0:, reboot and tadaaaa!
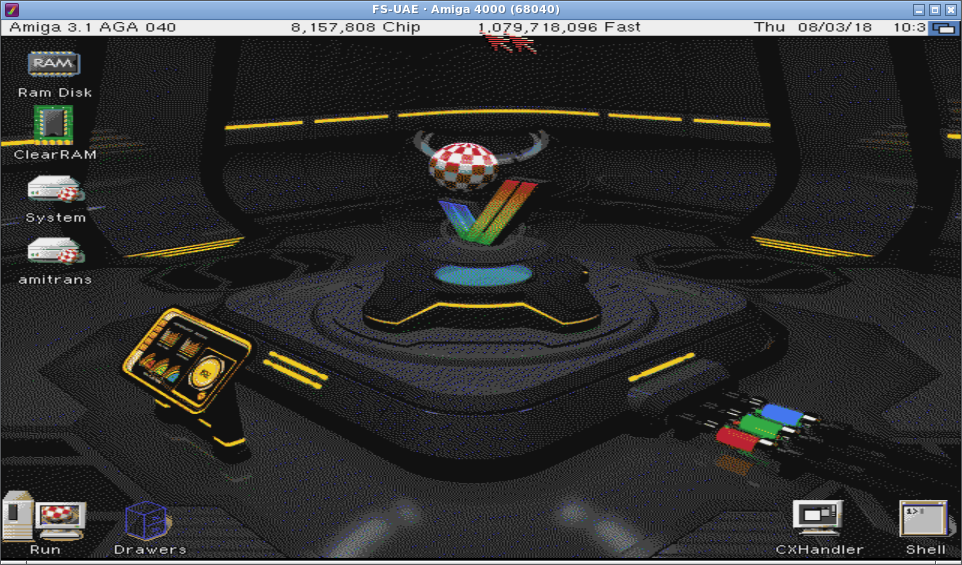
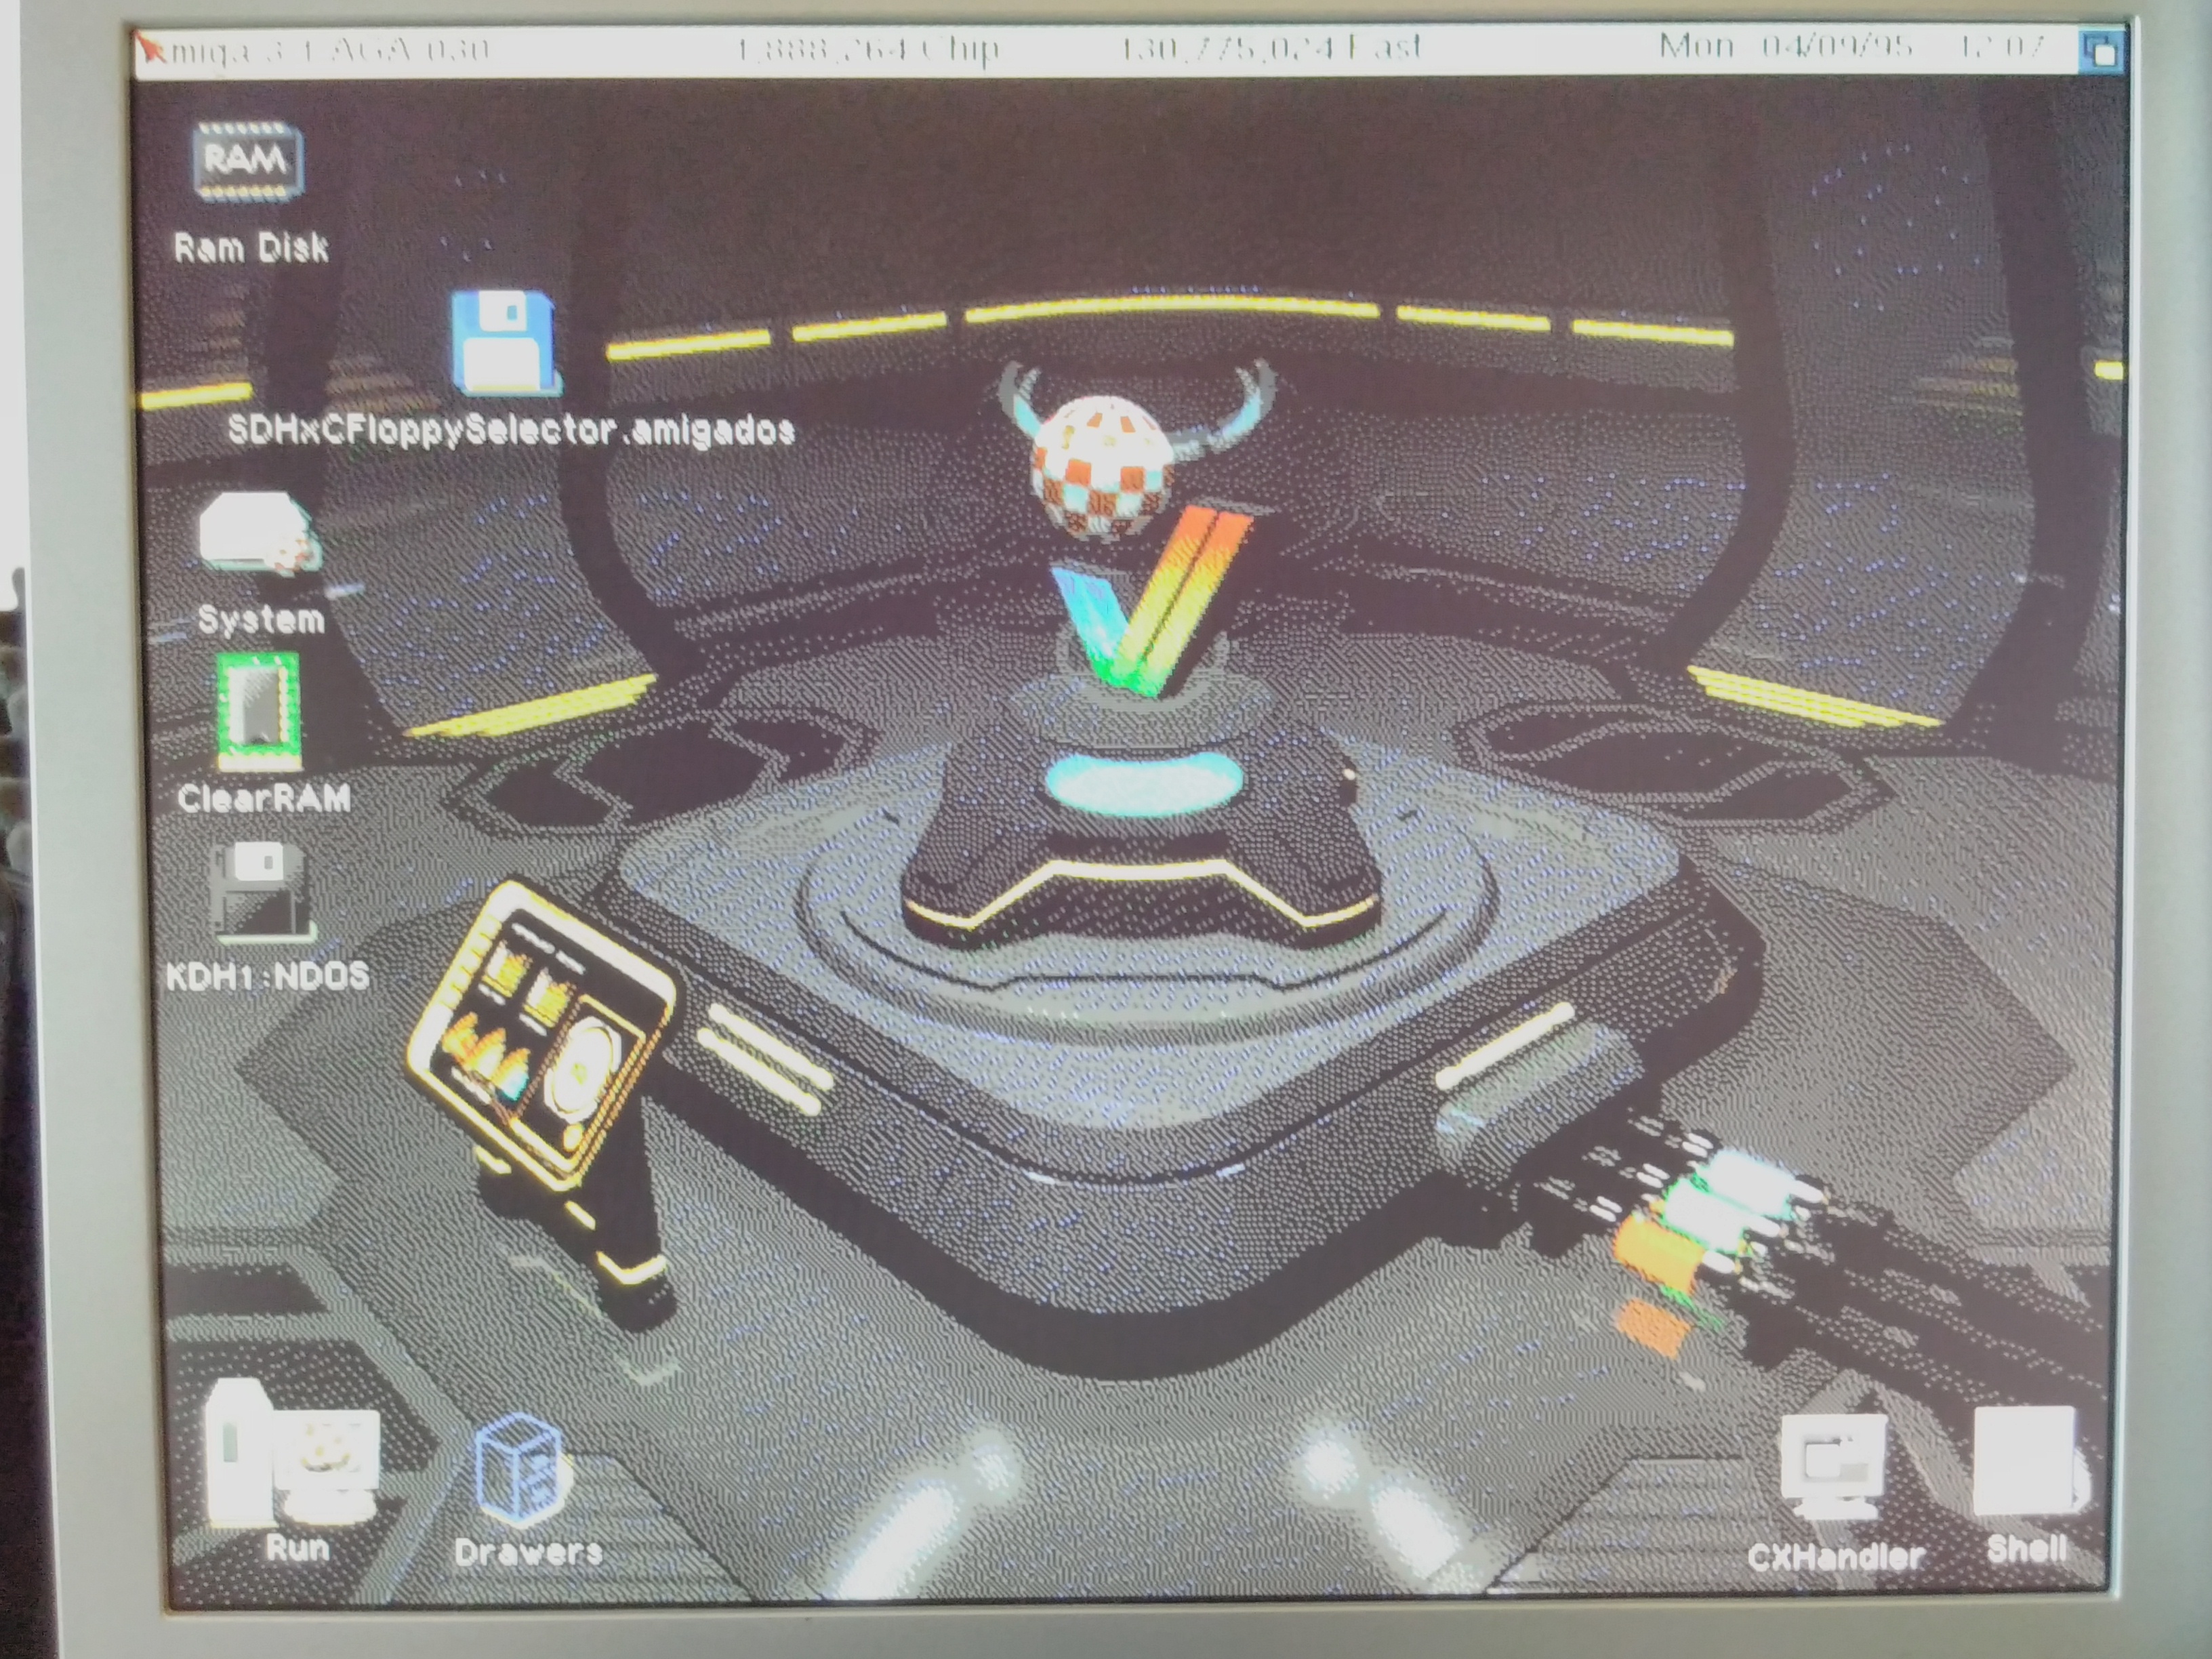
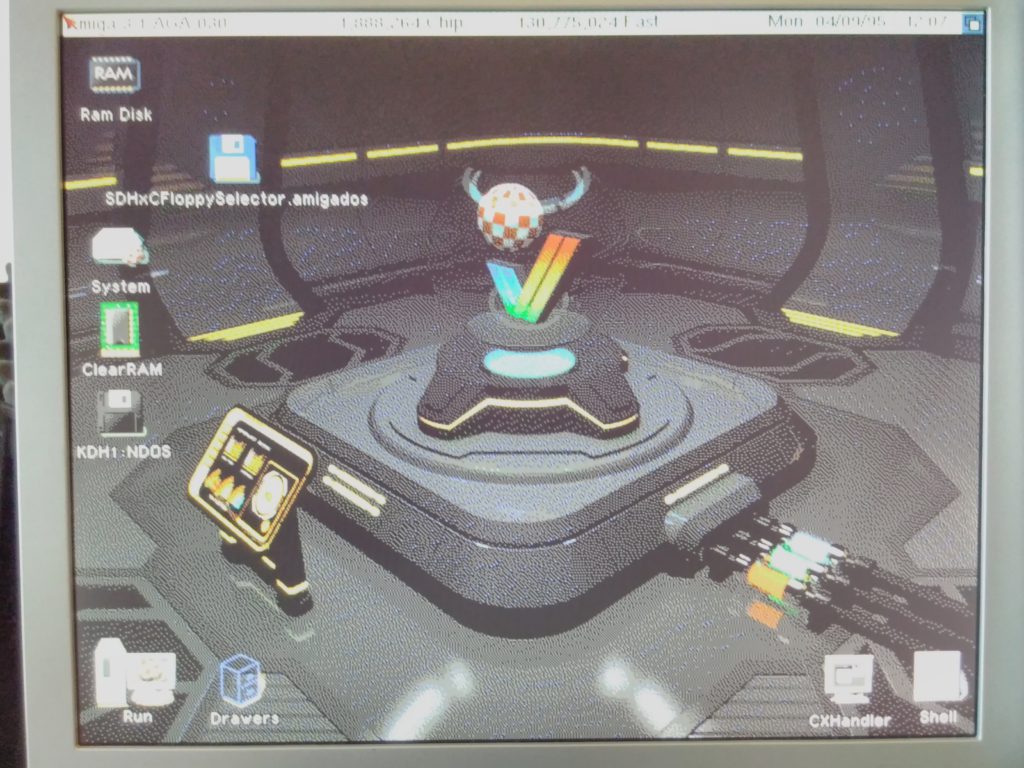
A wonderfull Amiga OS 3.1 ADVSP including Scalos and many tools is installed.
Copying the OS files
You can use Directory Opus to transfer the content of this fresh installed Amiga OS from the SYS; drive to amitrans:
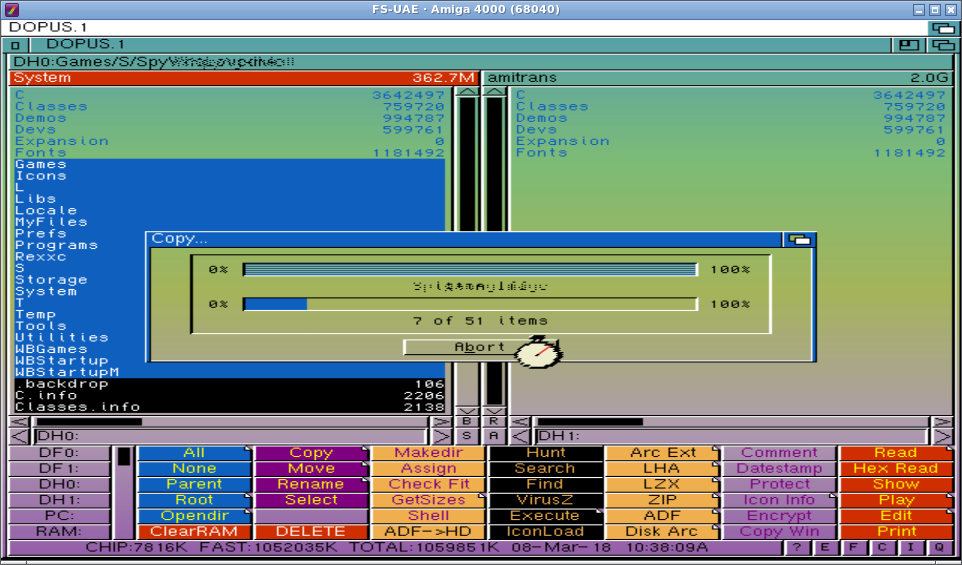
Then use linux cp command to copy Amiga OS files from amitrans to the actual real CF card

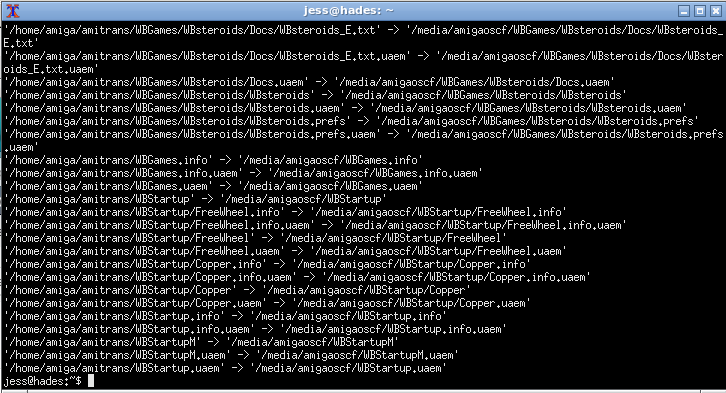
At the end, you must WAIT for the flashing light of the flash card device to stop blinking, because flash cards are slow, so the drive must finish to handle all the writes before you can go further.
Transferring packages
If you have packages to transfer before getting back to you real Amiga, it is the moment to use your knowledge of the cp command. You would prefer cp command to disk explorer in cause of the slow speed of the CF card wich can be badly handled by some graphic disk explorer (pcmanfm for example).
It’s the good time because it is faster to transfer files under Linux than on a real Amiga.
Personally I transfer the install packages for my rapidroad usb, my easynet ethernet pcmcia card, my indivision aga mkIIcr, the acatune tool, demos and programs i know i will use.
WAIT for the flashing light of the flash card device to stop blinking.
Preparing the CF card to return to the real Amiga
We will delete all the .uaem files written by fs-uae
find /media/amigaoscf/ -name "*.uaem" -exec /bin/rm '{}' \;
WAIT for the flashing light of the flash card device to stop blinking.

You must make it world writable again
sudo chmod -R 777 /media/amigaoscf
WAIT for the flashing light of the flash card device to stop blinking.
and unmount it
sudo umount /media/amigaoscf
WAIT for the flashing light of the flash card device to stop blinking.
Returning to your real amiga
Insert the CF card in your amiga.
If you boot directly on your cf card, Amiga OS won’t load, and you’ll get an error like :
C:GetMouseInput: file is not executable
C:GetMouseInput failed returncode 10
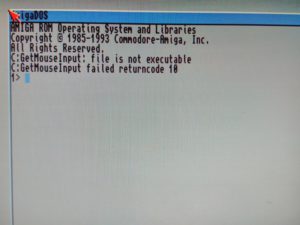
Once again, it is due to the security flags not handled in the same way by linux and amiga os…
So, you must boot from Workbench 3.1 disk.
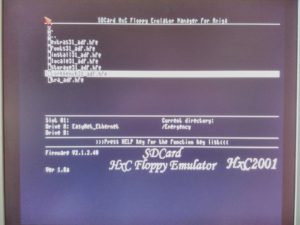
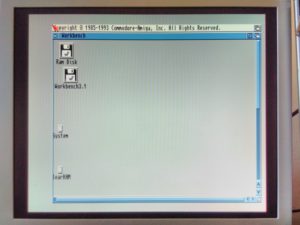
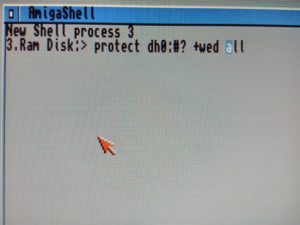
When on the workbench, you open a shell, and type
protect dh0:#? +wed all
And you wait for the system to finish the job.
Rename your harddrive DH0: to “System” if necessary
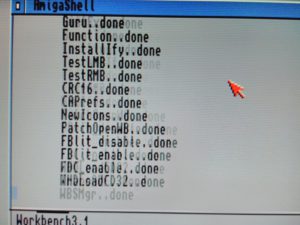
When done, you can boot on your Workbench ADSP installed on your CF card on your real Amiga 1200 (or 500).
Tadaaaa !
Resources
- http://thomas-rapp.homepage.t-online.de/os39uae.html
- http://classicwb.abime.net
- http://amigaga.chez-alice.fr/amigaos/download/index.htm

