
Hits: 6286
Today an article on how to install SmartFileSystem on Amiga OS 3.9. There is also a part on migration to SFS for the one who want their entire OS hard drive booting directly in SFS.
Contents
Why ?
- FFS is “Fast File System”
- SFS is “Smart File System”
With FFS :
I’ve been more than once in front of the problem of partition validating for ages in cause of a crash when some writing was going. This is not so annoying when it is a FD that is 880Kb big, but when it is a 3Gb partition…
As I have backups of my files, what I did was to reformat the partition each time, and copy back the files (faster then waiting for the revalidation!).
Other problem is the speed of this filesystem.
Last minute note : to avoid long validation, you can use the tool “disksafe”, that you can find on aminet.
With SFS :
the speed is better, there is no revalidation, and the defragmentation is included “on the go”, and you have a better Large HD support.
AROS : will access the partitions natively in a more robust way than with FFS.
And I’ve made absolutely all the possible errors, so I want to share my experience.
COUNCILS
Note 2018 03 09 : After experimenting a lot, you should keep the first partition in FFS to be able to share your files with your linux system, like in those two articles :
Install Amiga OS 3.1 for your real Amiga (1200) using FS-UAE on linux ubuntu
access amiga FFS Hard Drive (or CF) under ubuntu
Don’t forget : each time you change a parameter inside HDInstTools, please, press “ENTER”. If you don’t, the entry won’t be validated.
Before a change on a partition can be taken in account, you must *reboot* your system.
Note 2018 03 09 : After experimenting a lot, you should keep the first partition in FFS to be able to share your files with your linux system, and use “disksafe” from aminet for a safer FFS use
SOME USEFULL SOFTWARES
- HDInsttools : http://aminet.net/package/disk/misc/hdinst
- FixHDDSIZE : http://aminet.net/package/disk/misc/fixhddsize
- For a safer use of FFS, use the tool DISKSAFE from Aminet : http://aminet.net/package/disk/salv/DiskSafe
Summary
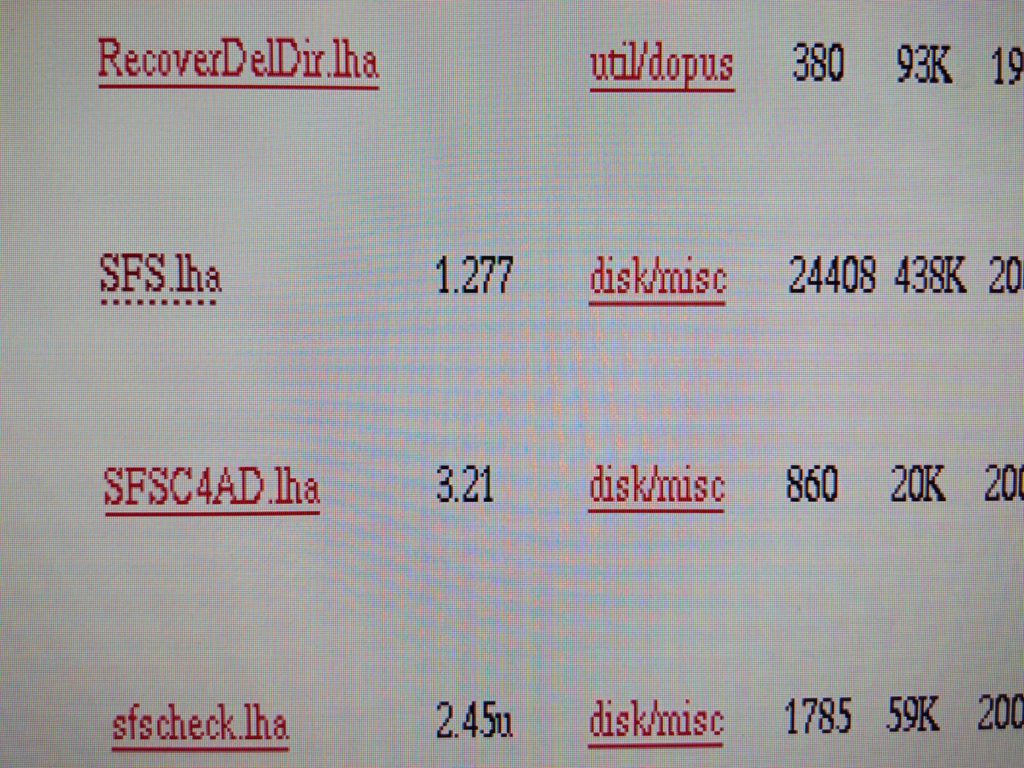
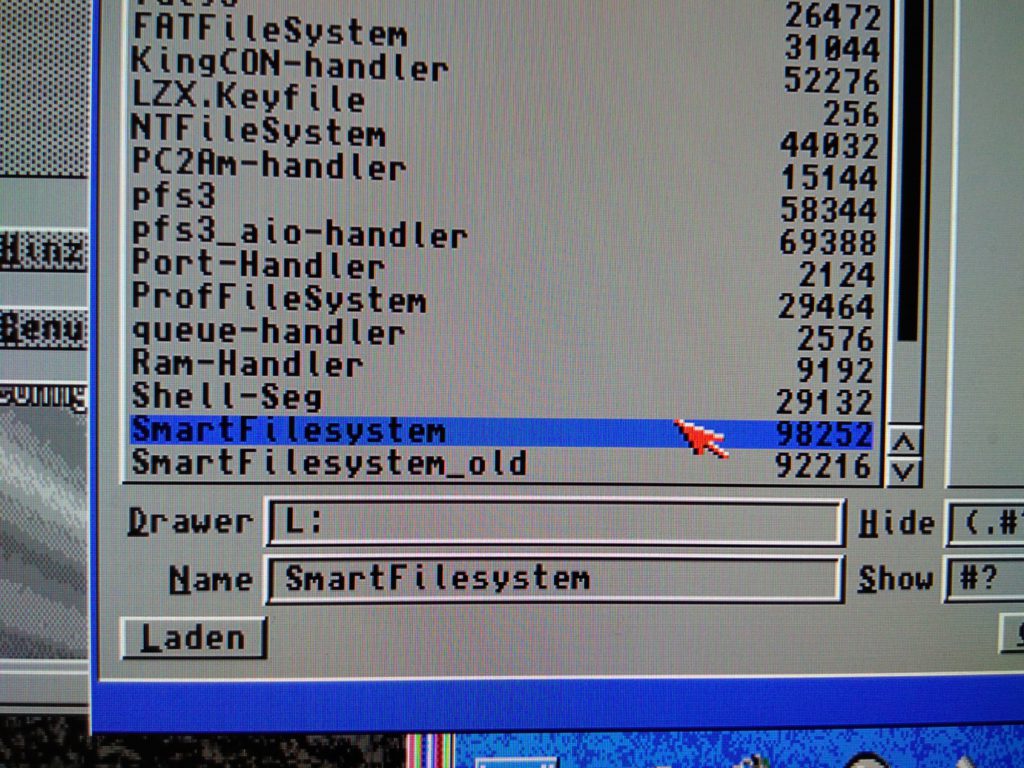
- get SFS
- get HDInstTools
- Install the filesystem on the boot block to enable it at boot
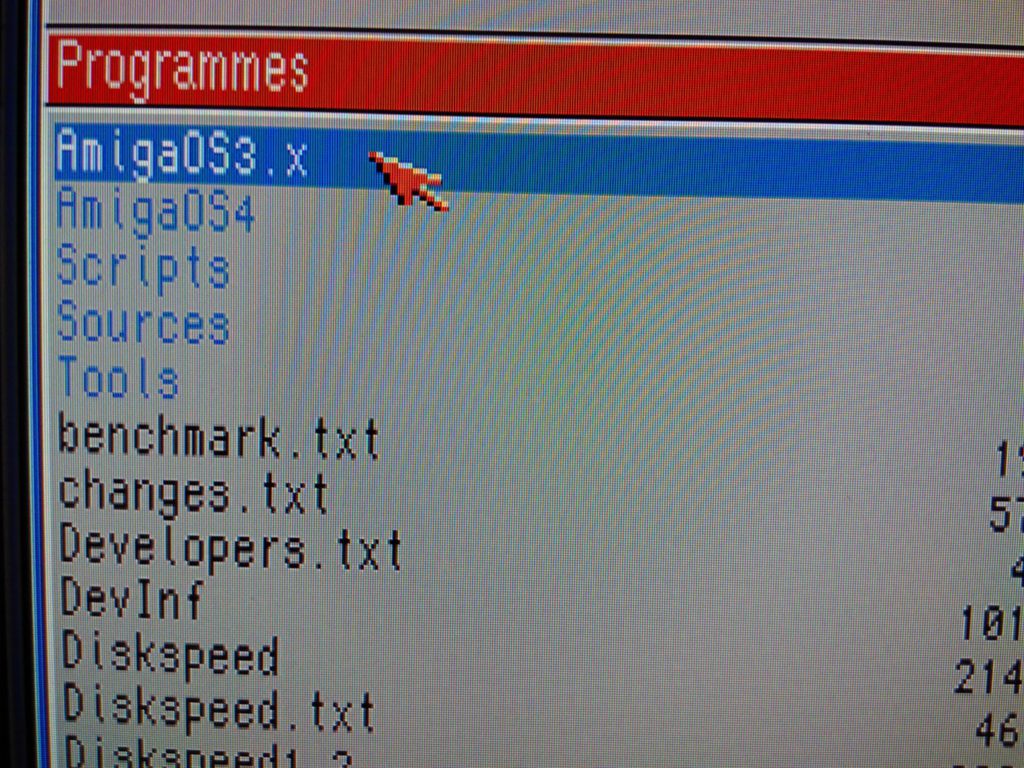
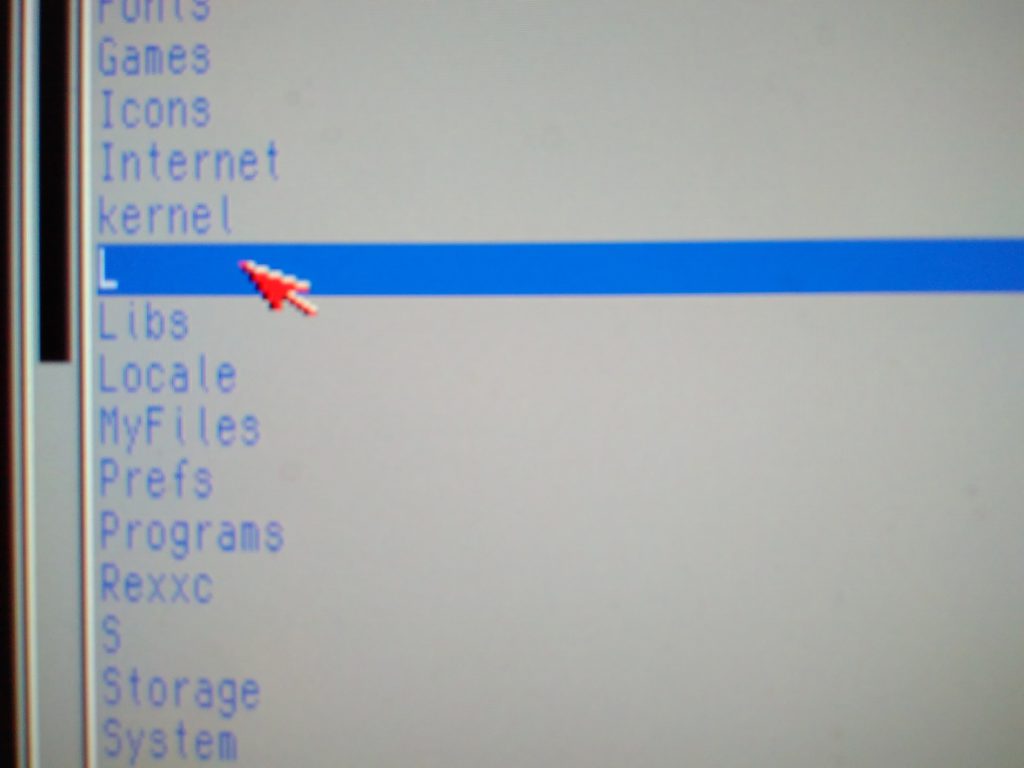
- copy your system to the new drive
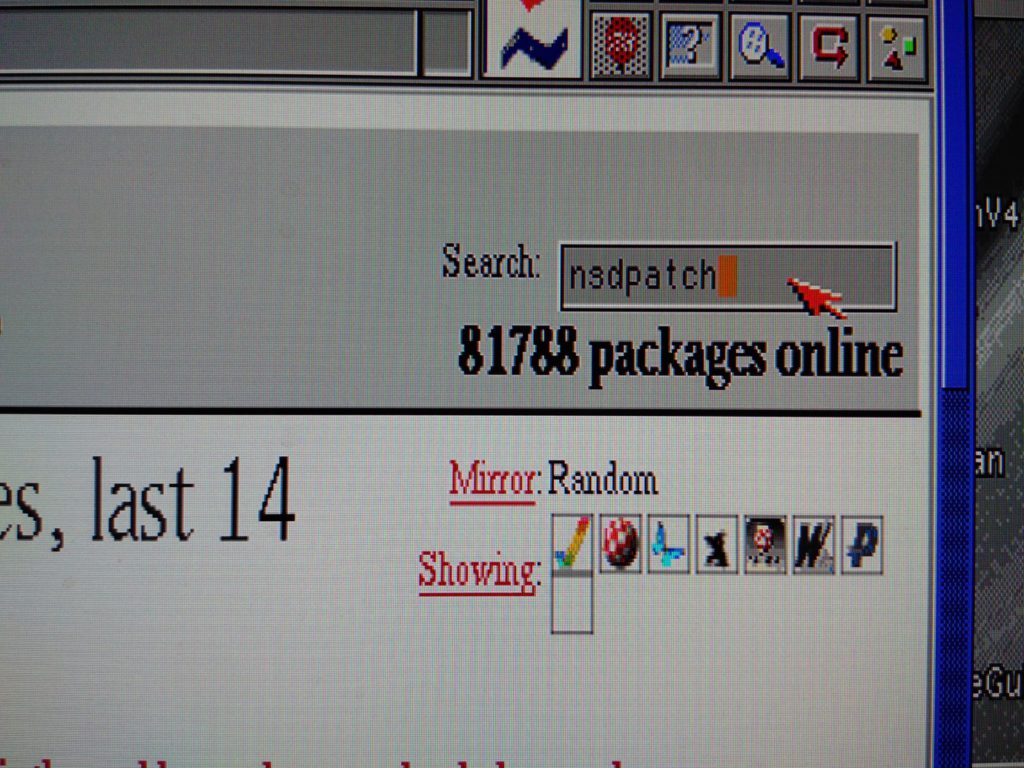
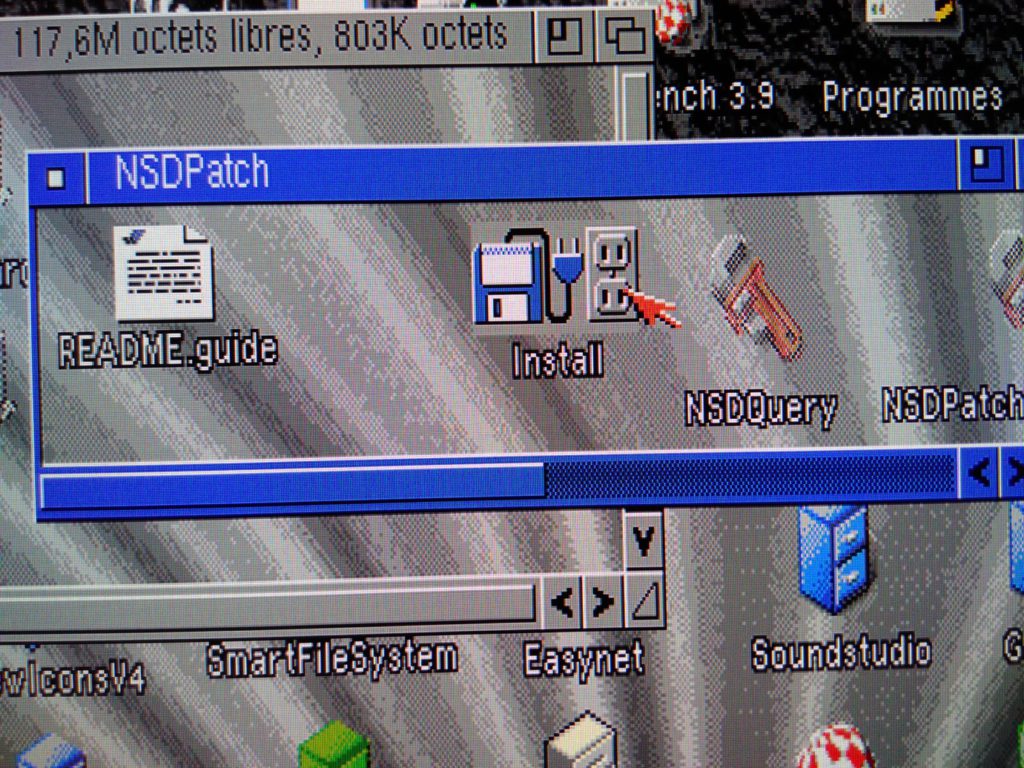
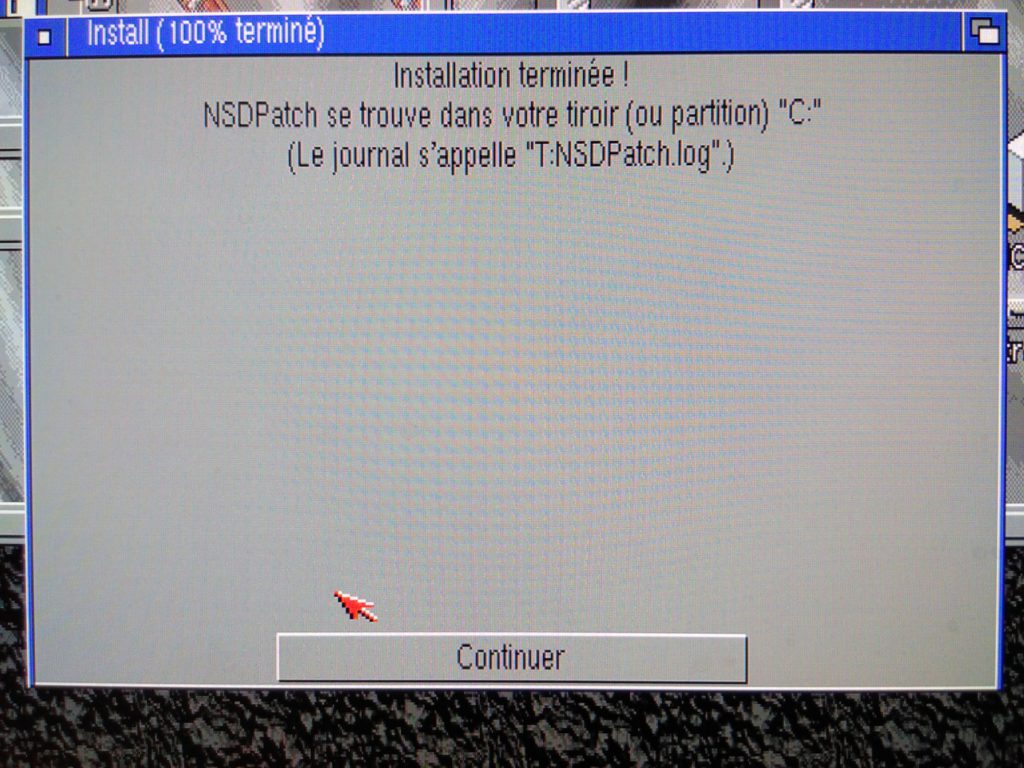
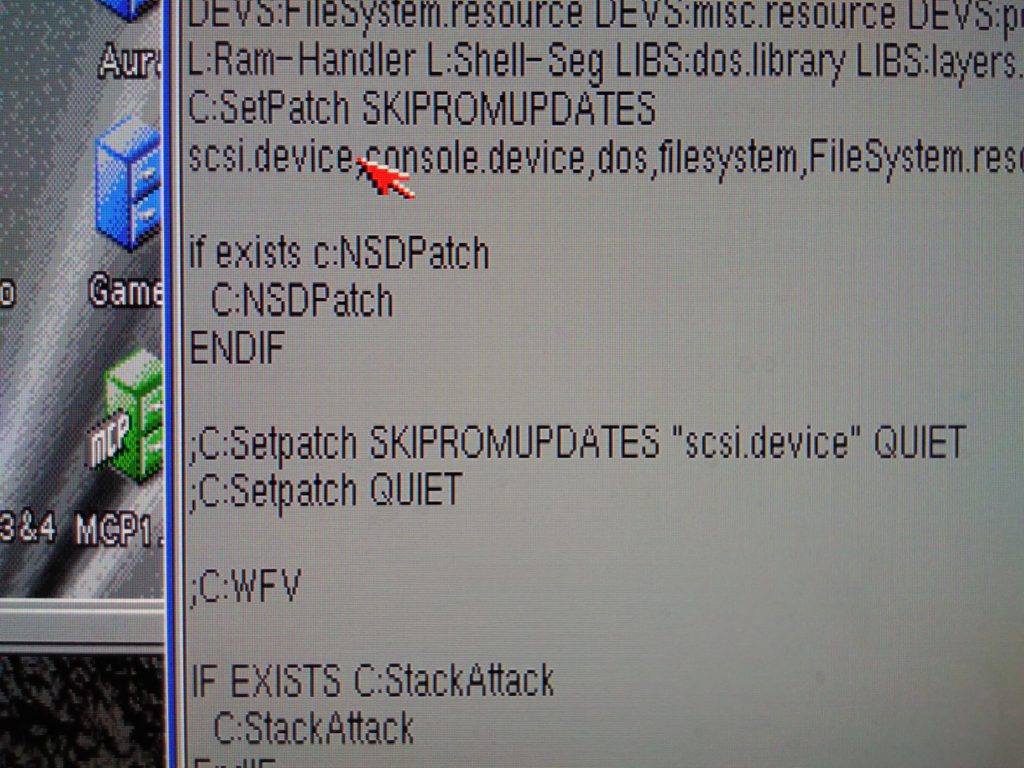
- install nSDPatch to your new OS installation
- get all your partitions working
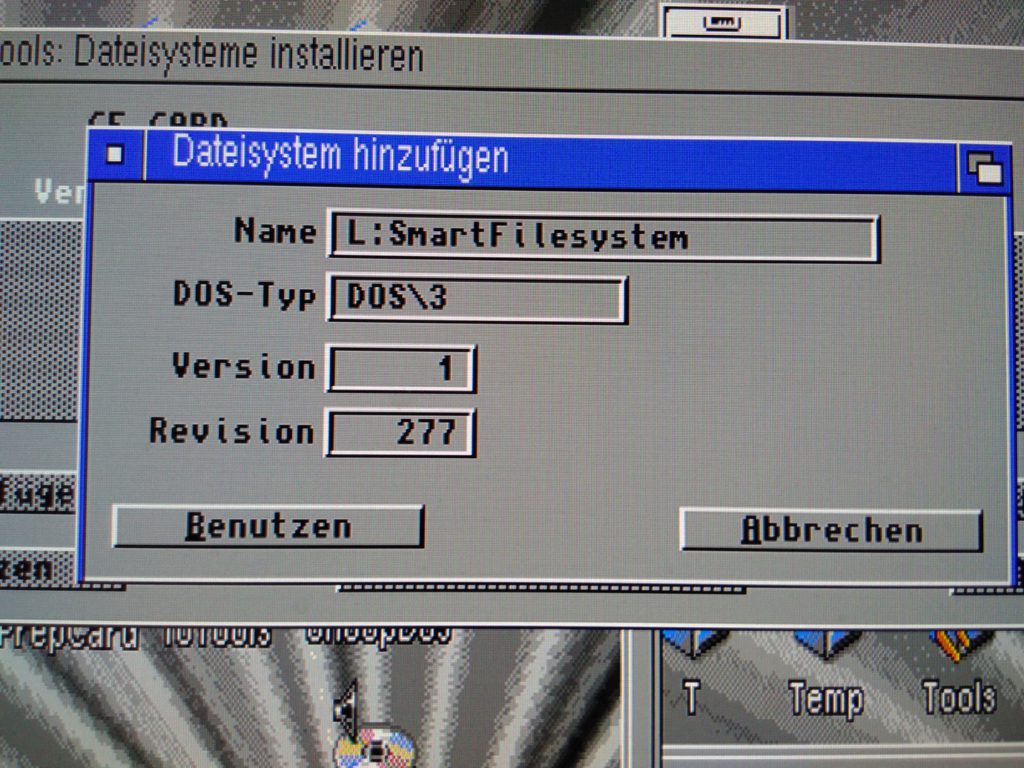
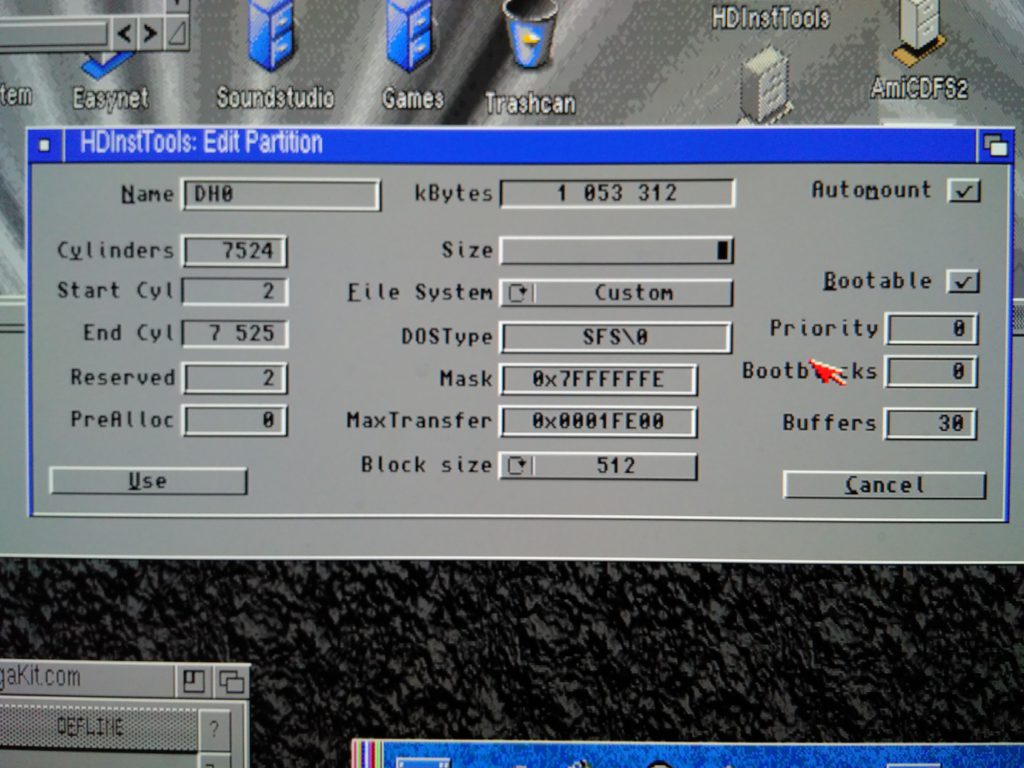
Partitions parameters summary
- File System = custom,
- DOSType = SFS\0
- Mask = 0x7fffffffE (there are 6 “f”),
- MaxTransfer = 0x0001fe00,
- block size = 512 bytes
- buffers = 100
It is CRUCIAL to respect those parameters.
The hardware
I do not use WinUAE or this kind of (very usefull and handy) tools to do the transfer. I’m on a single amiga 1200.
Note 2018 03 10 : it has changed now, i use FS-UAE under linux a lot a lot now, it simplifies the life so much 🙂
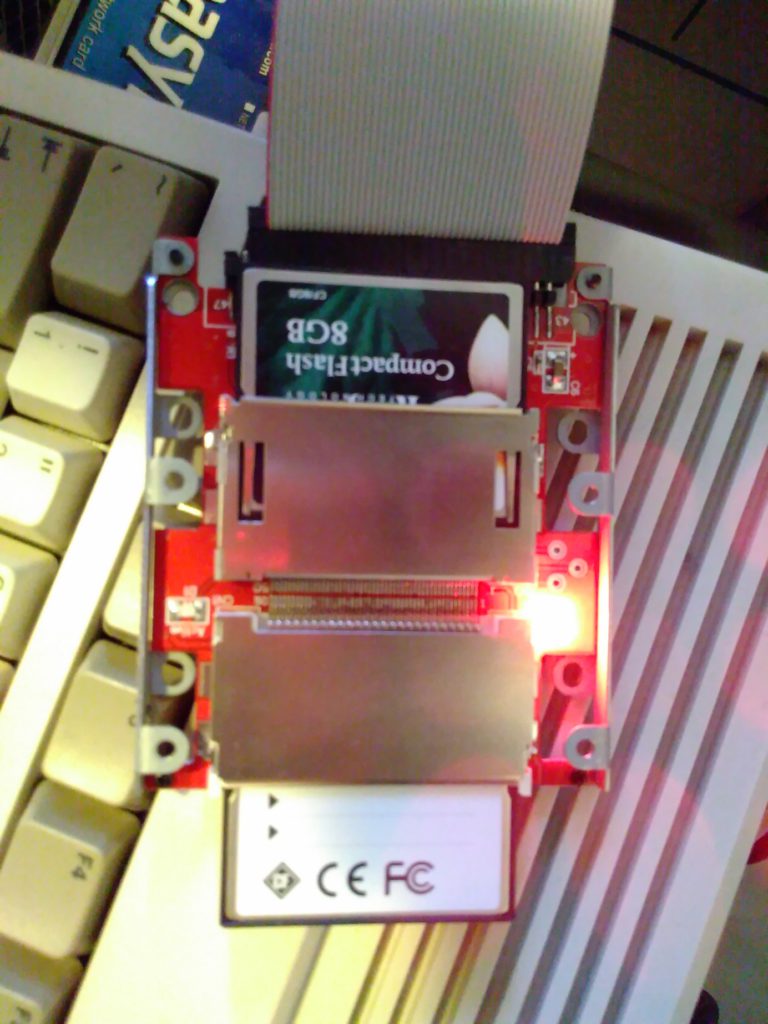
To be able to go from a filesystem to the other, I bought a 2 CF card to IDE reader :
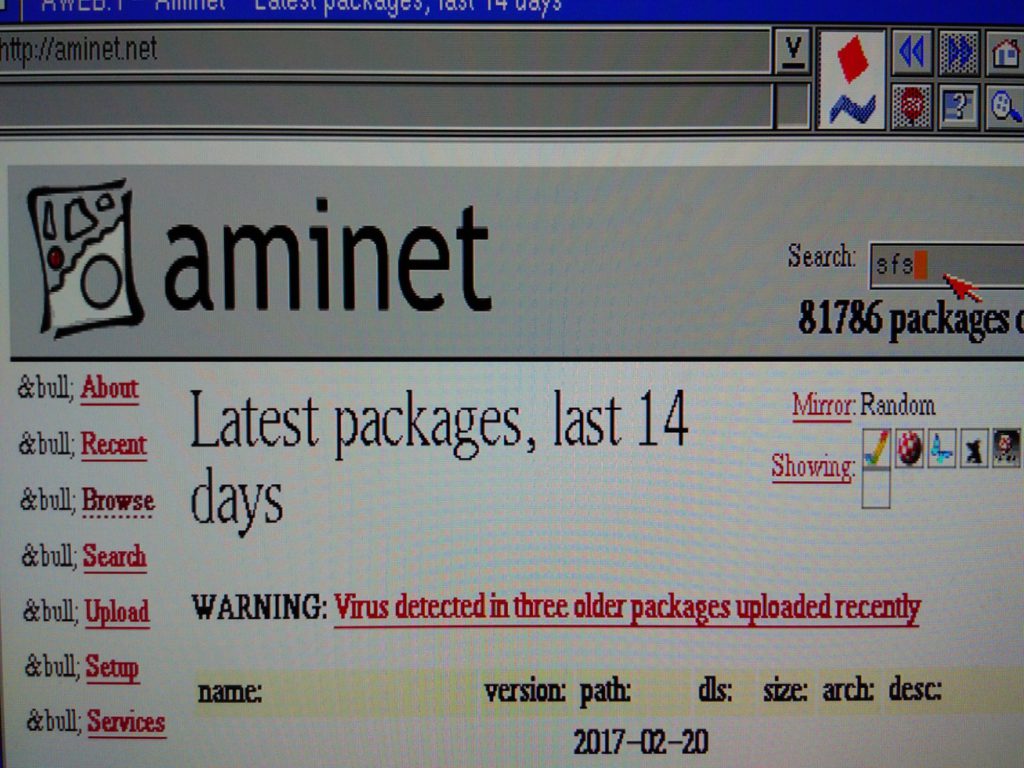
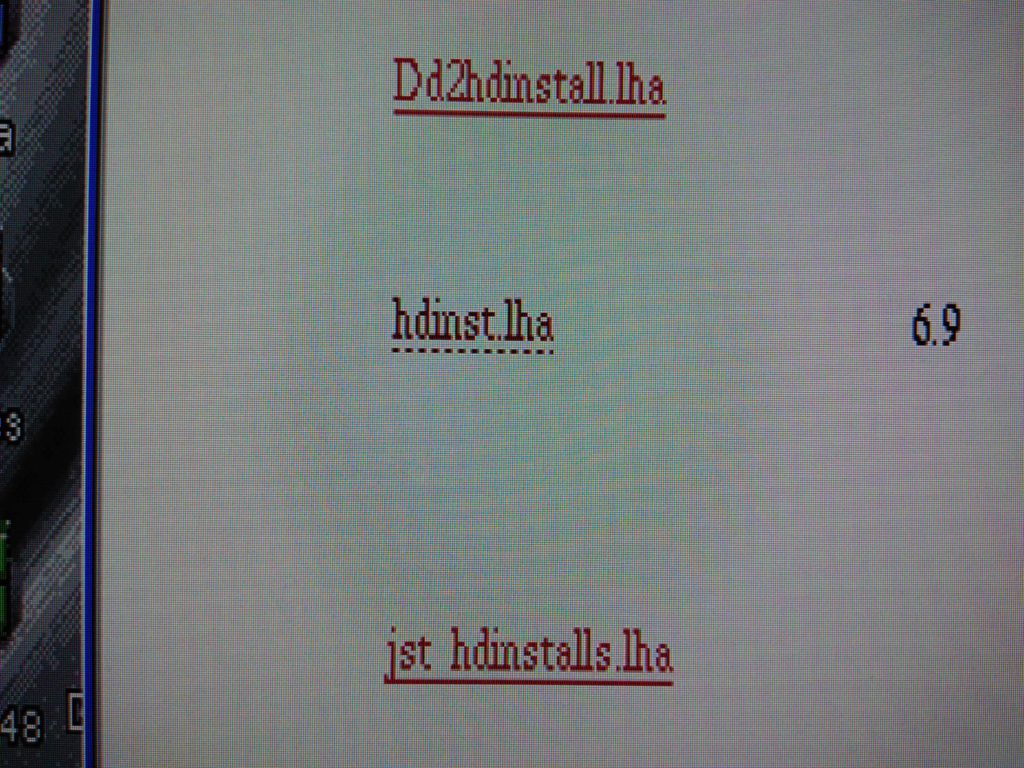
Get SFS from Aminet
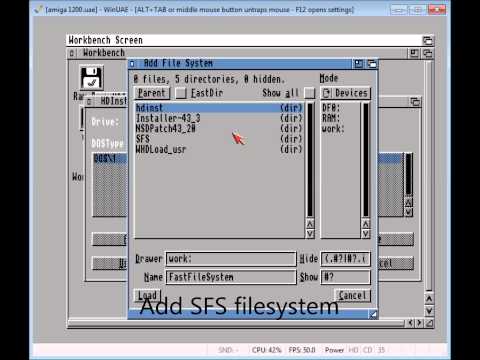
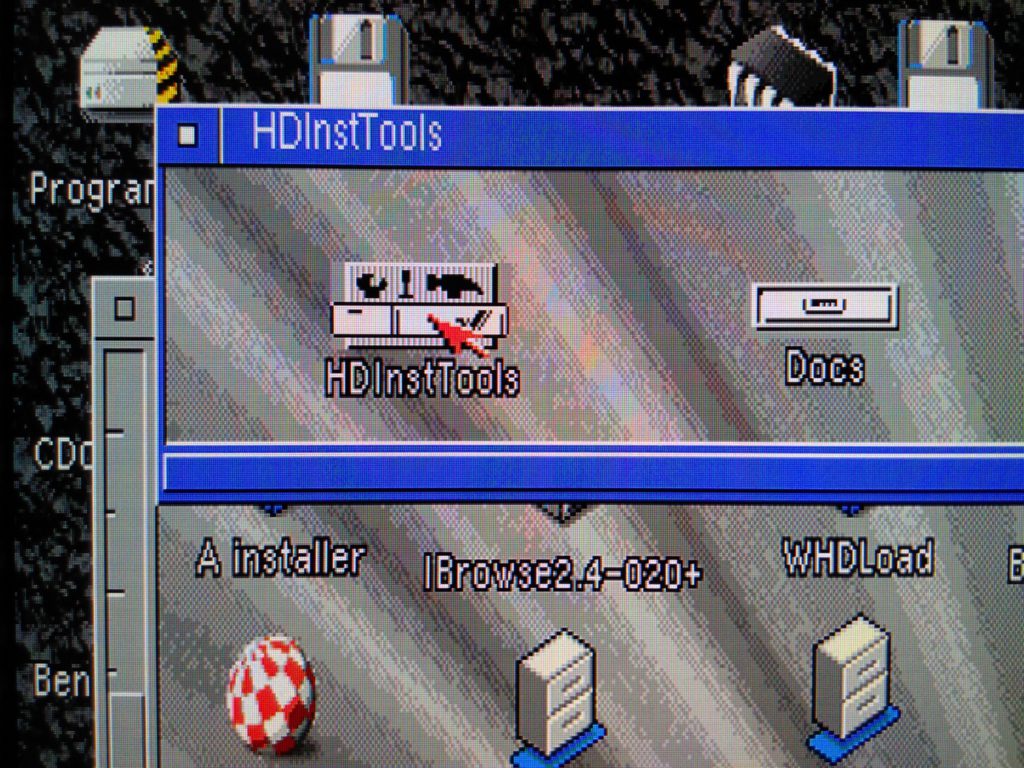
Get HDInstTools from aminet and install SFS
Because it is a better tool than hdtoolbox for this.
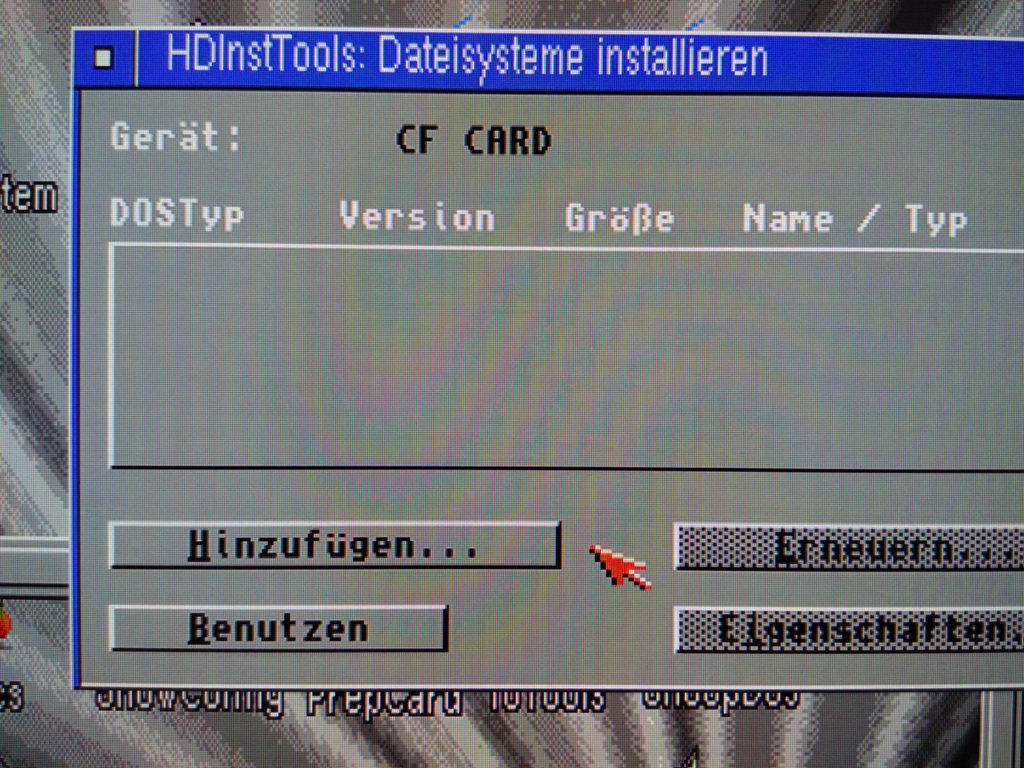
Note 2018 03 10 : After many experimentations, my advice is to keep the fist partition (under 2Gb) in FFS to make the share with linux possible. So here : do not delete FFS, just ADD smartfilesystem
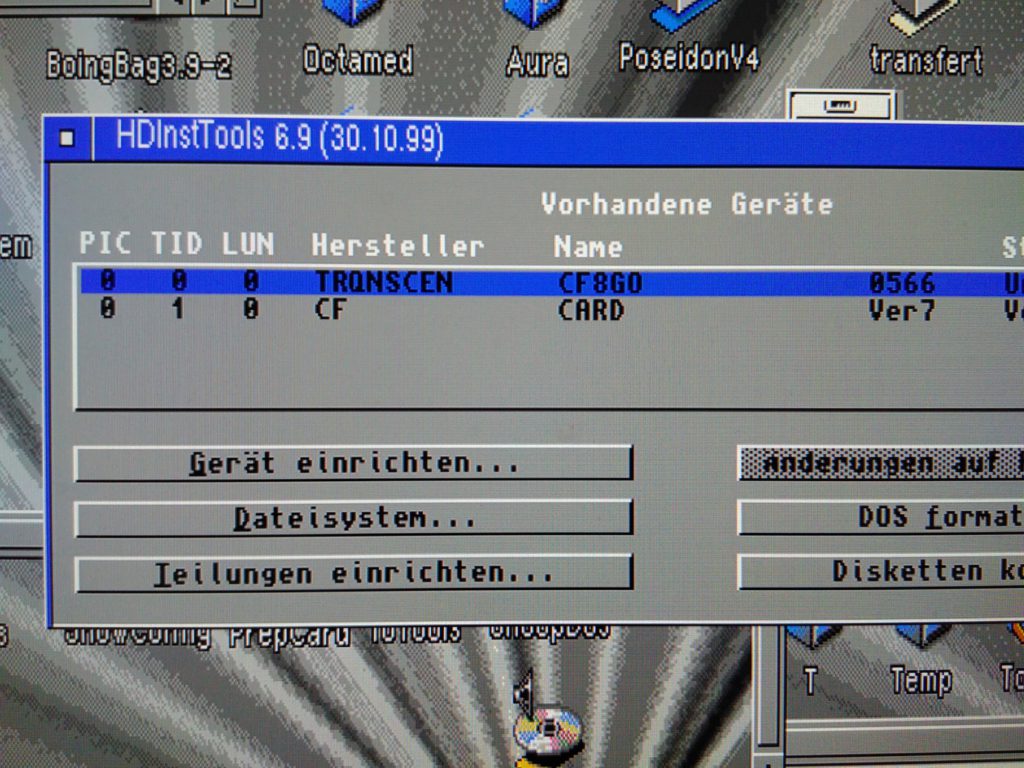
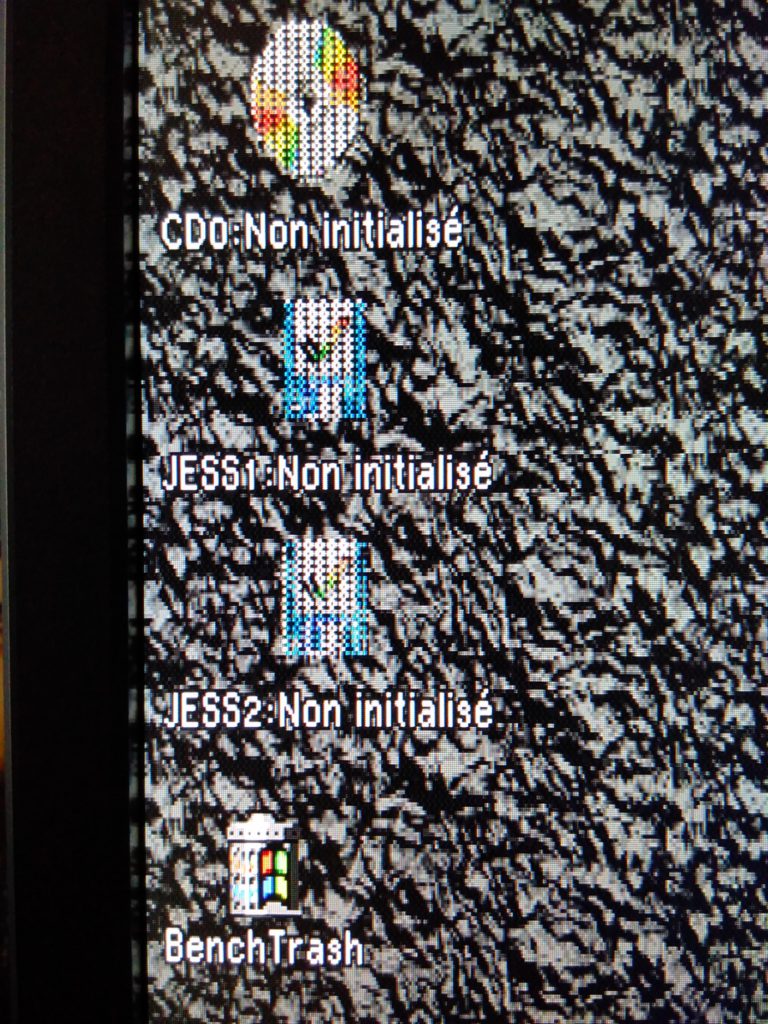
Partition your drive:
after saving the modifications to the card (you have to get out of HDInstTools and then restart the amiga)
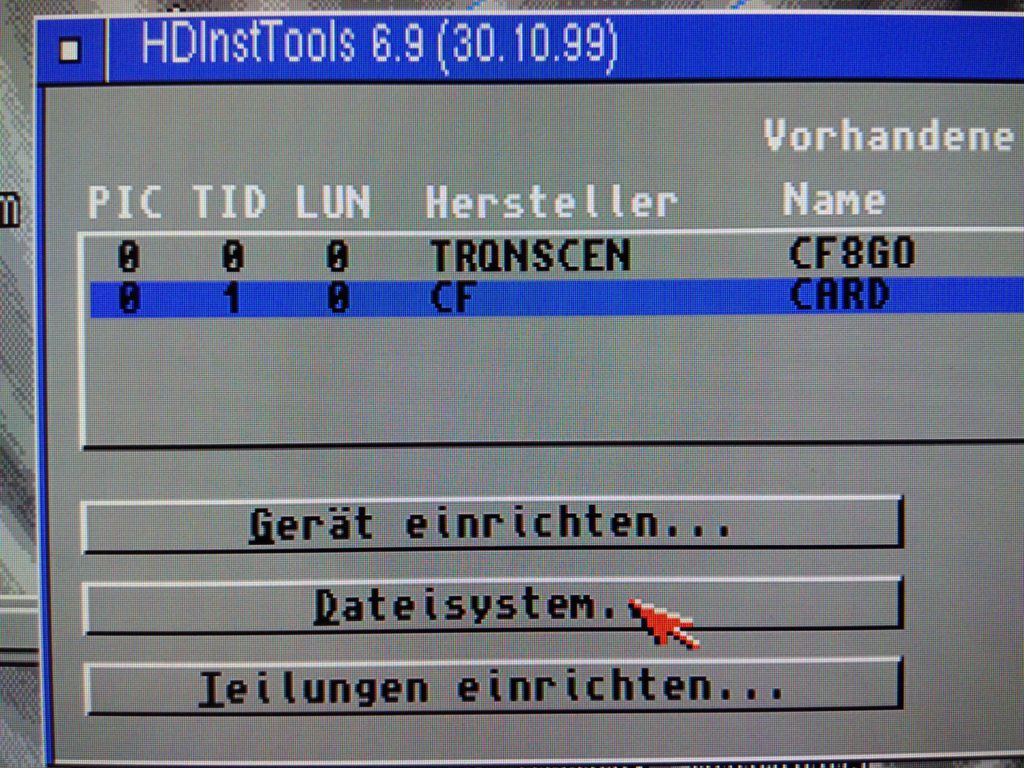
when done, you open again HDInstTools and enter inside your device.
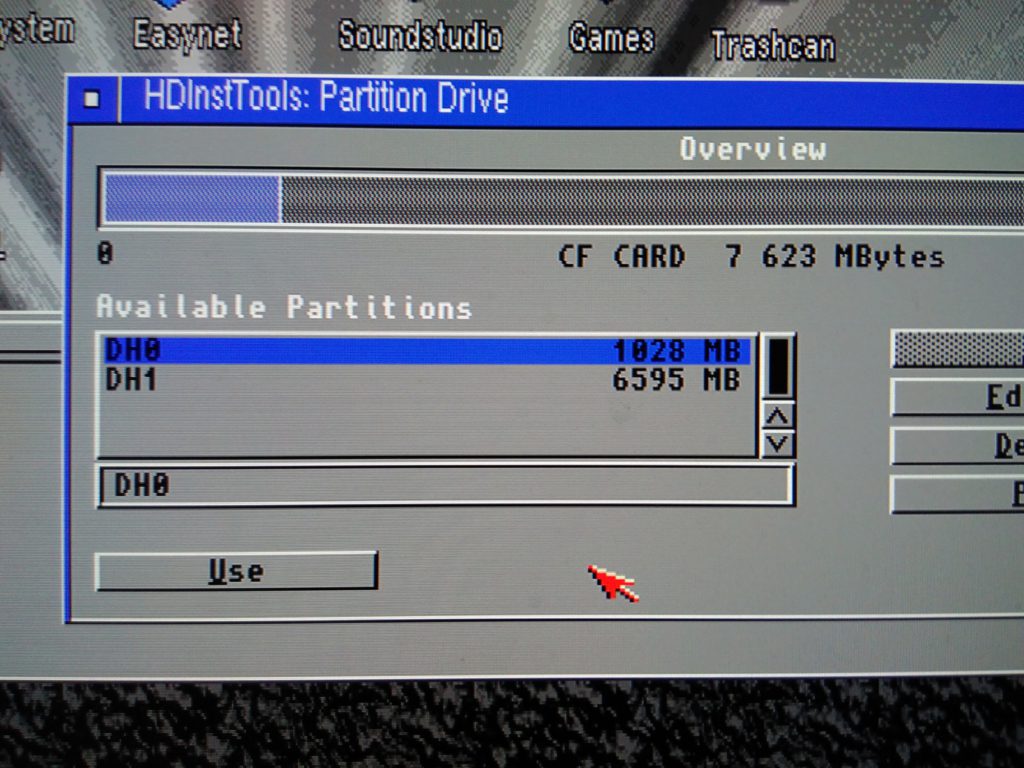
Note 2018 03 10 : After many experimentations, my advice is to keep the fist partition (under 2Gb) in FFS to make the share with linux possible. So here : let the first partition in FFS. Change only the second partition to SFS.
Partitions parameters summary
- File System = custom,
- DOSType = SFS\0
- Mask = 0x7fffffffE (there are 6 “f”),
- MaxTransfer = 0x0001fe00,
- block size = 512 bytes
- buffers = 100
It is very important to respect those parameters.
Save and you restart your computer.
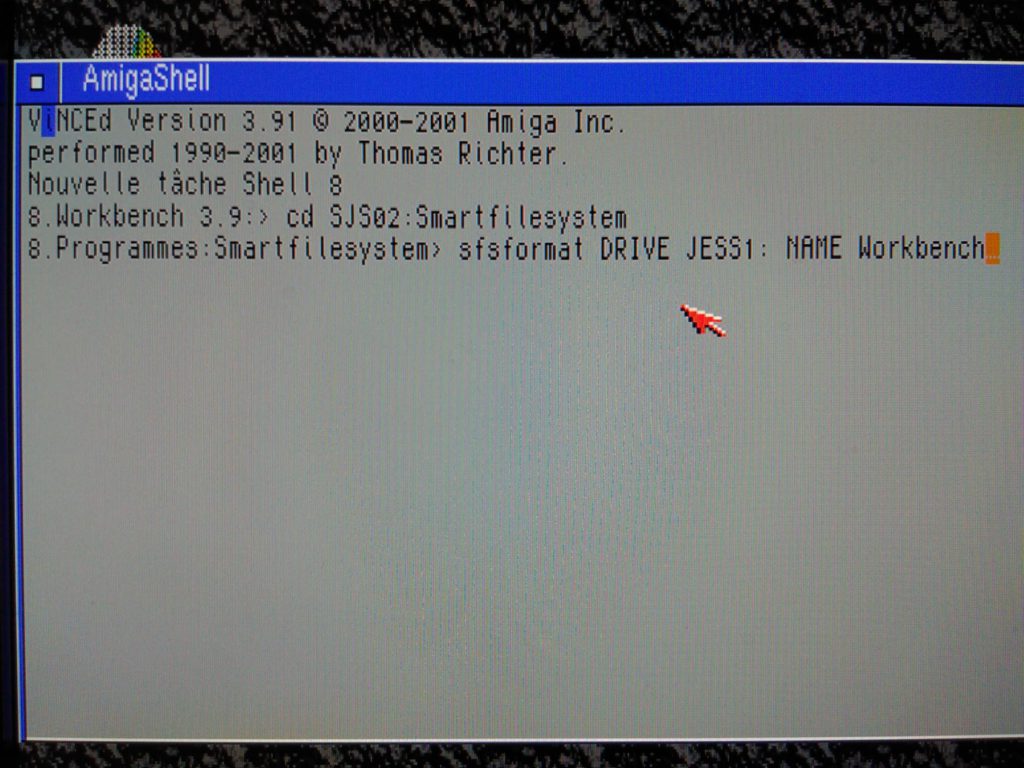
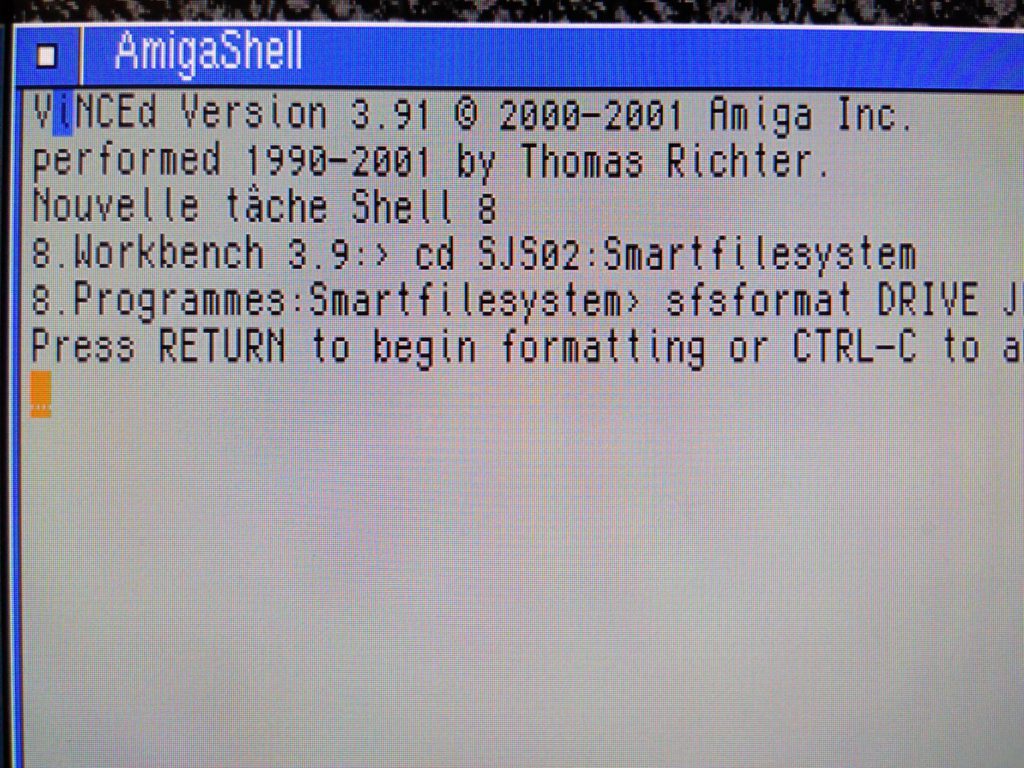
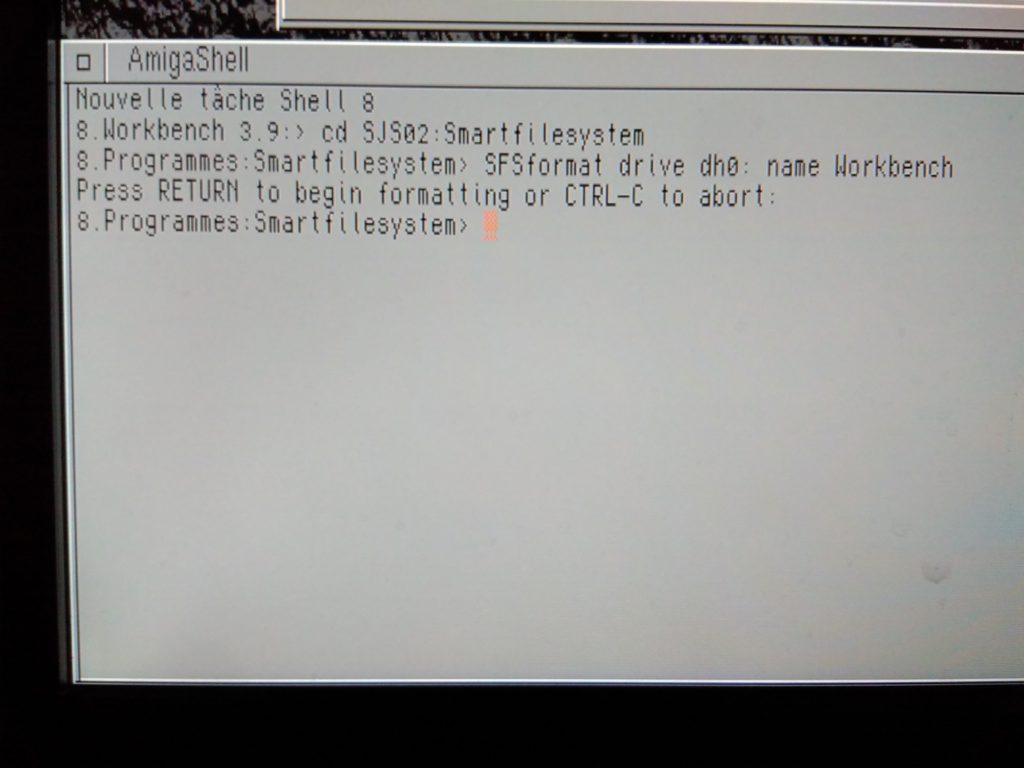
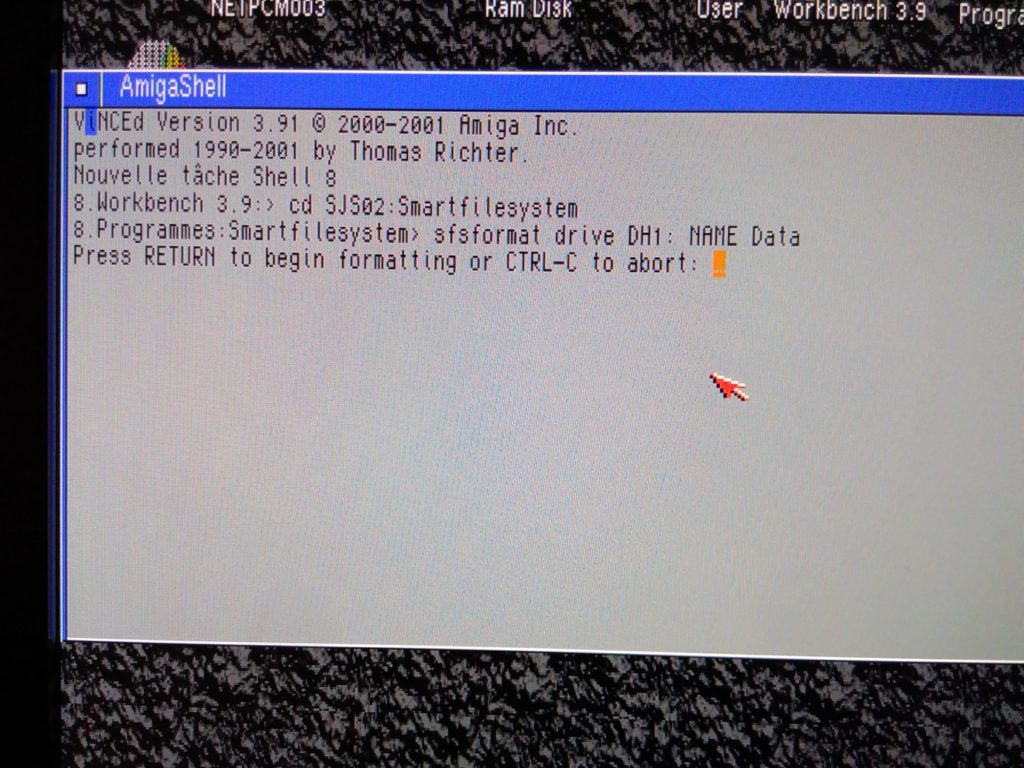
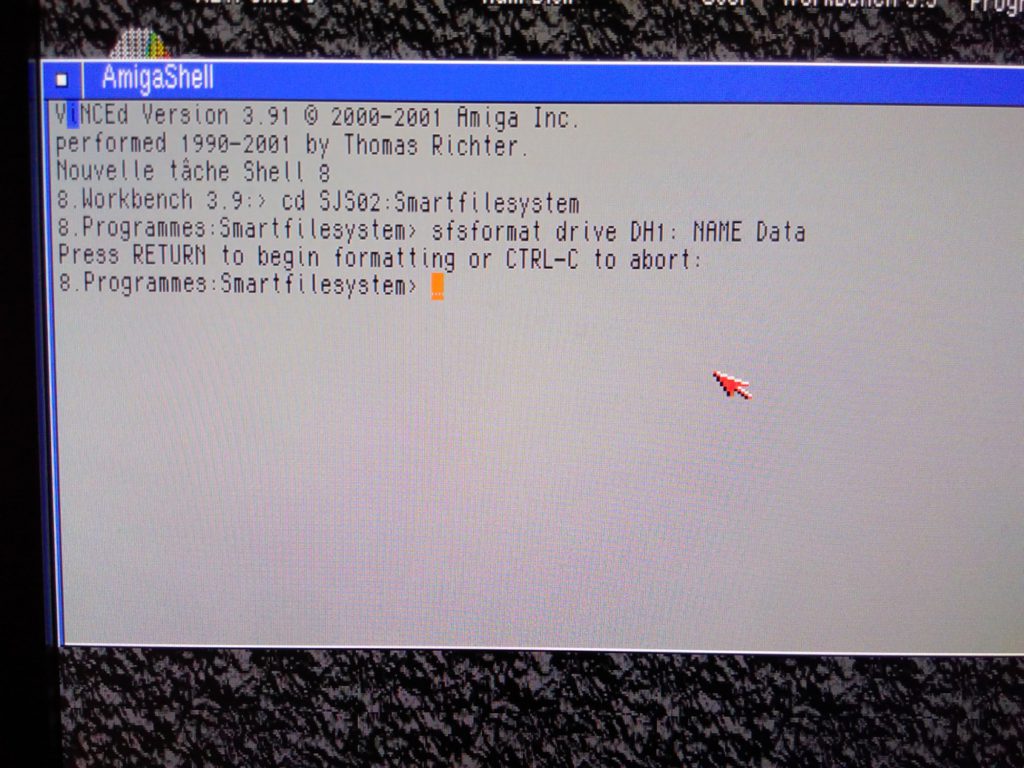
Formating the first partition
Note 2018 03 10 : SFSFormat command is a “quick format” one. You can also use the “Format” option of Amiga OS 3.9 if you want a complete format.
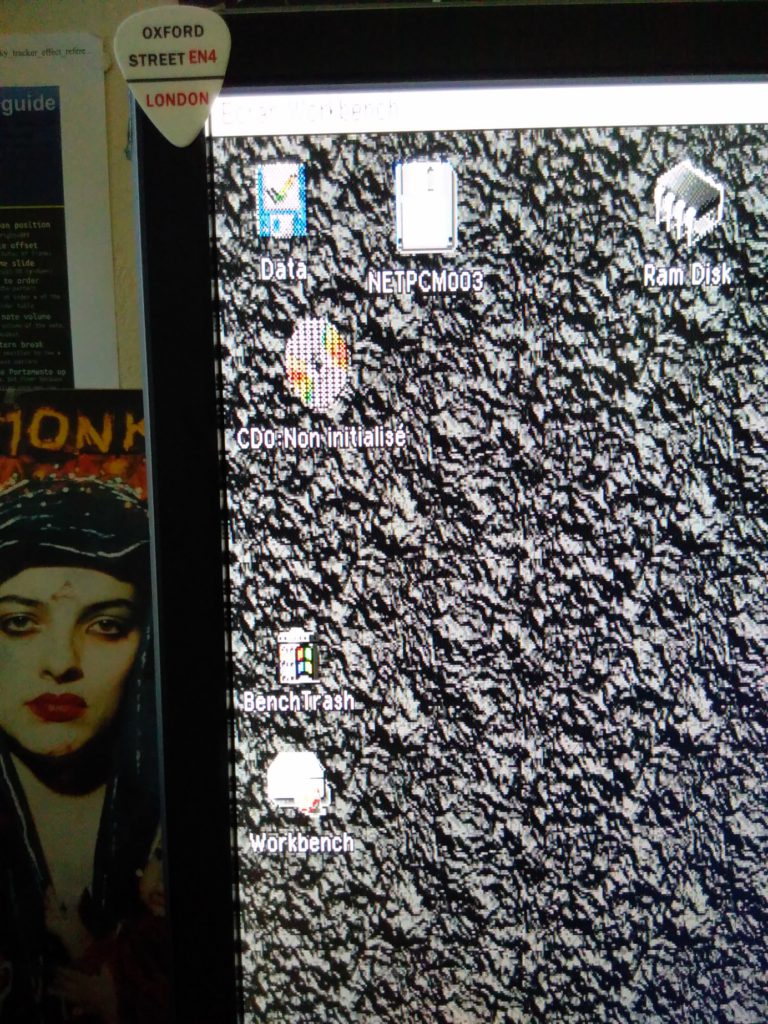
Copy your Amiga OS Files to the fresh new SFS partition
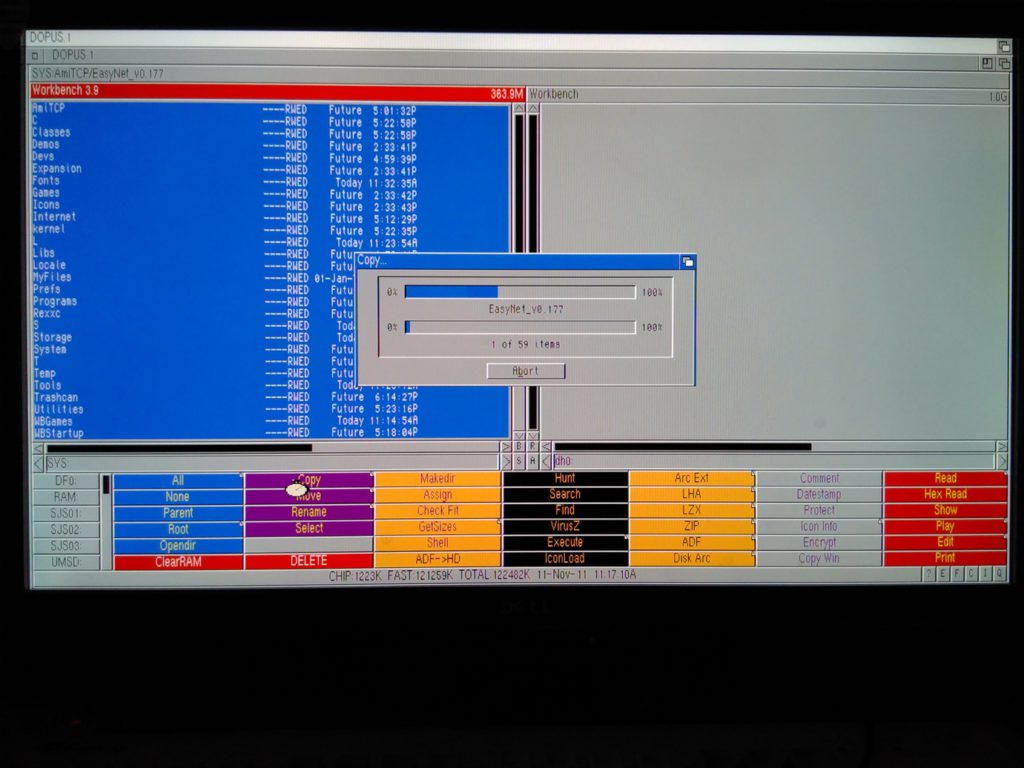
You should now be able to reboot with your new partition.
LARGE HD SUPPORT

SAFER FFS USE
Last update 2018 03 10
As your first partition should be kept in FFS to help sharing with linux, you should use DISKSAFE for a safer FFS use.
RESOURCES
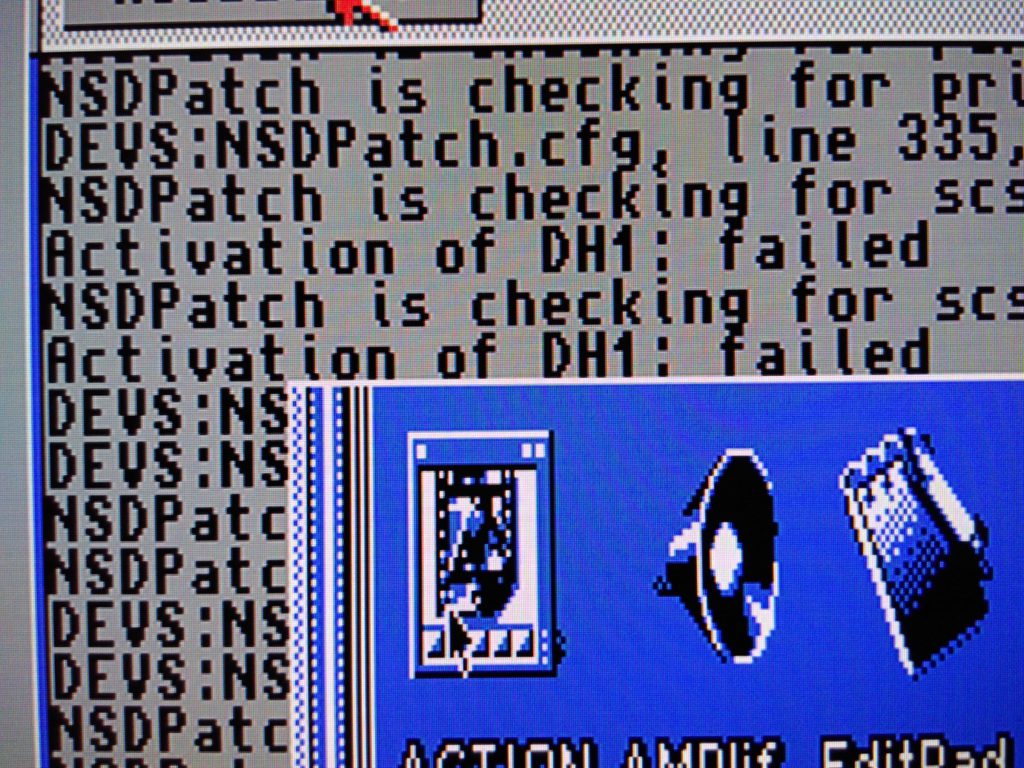
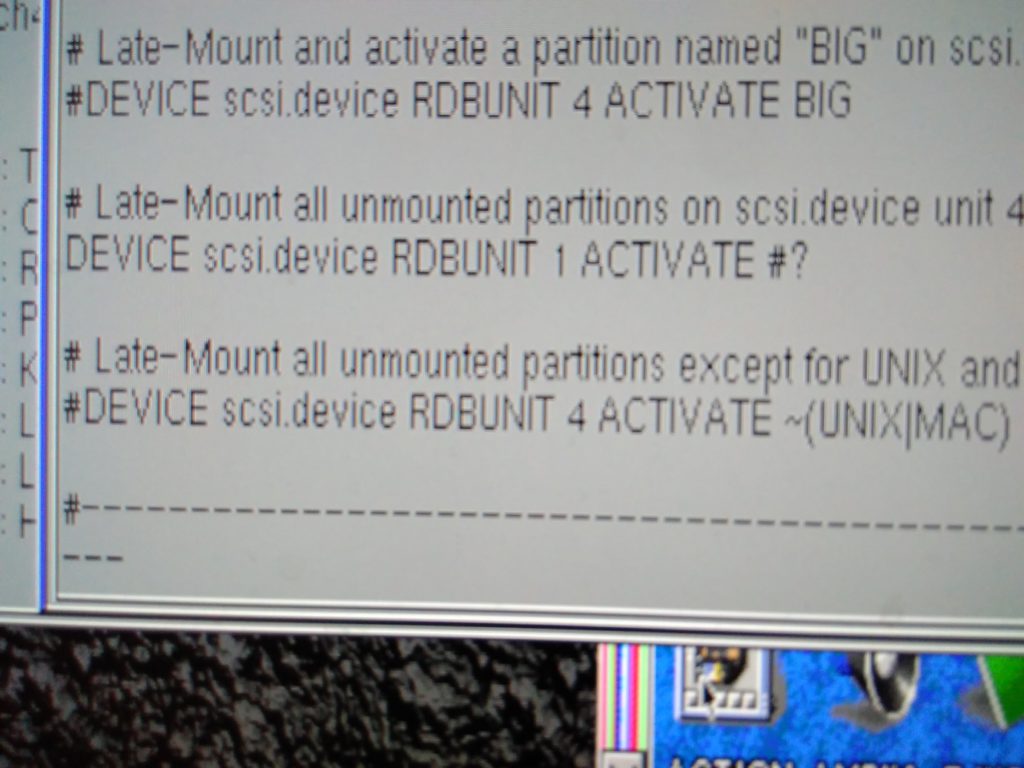
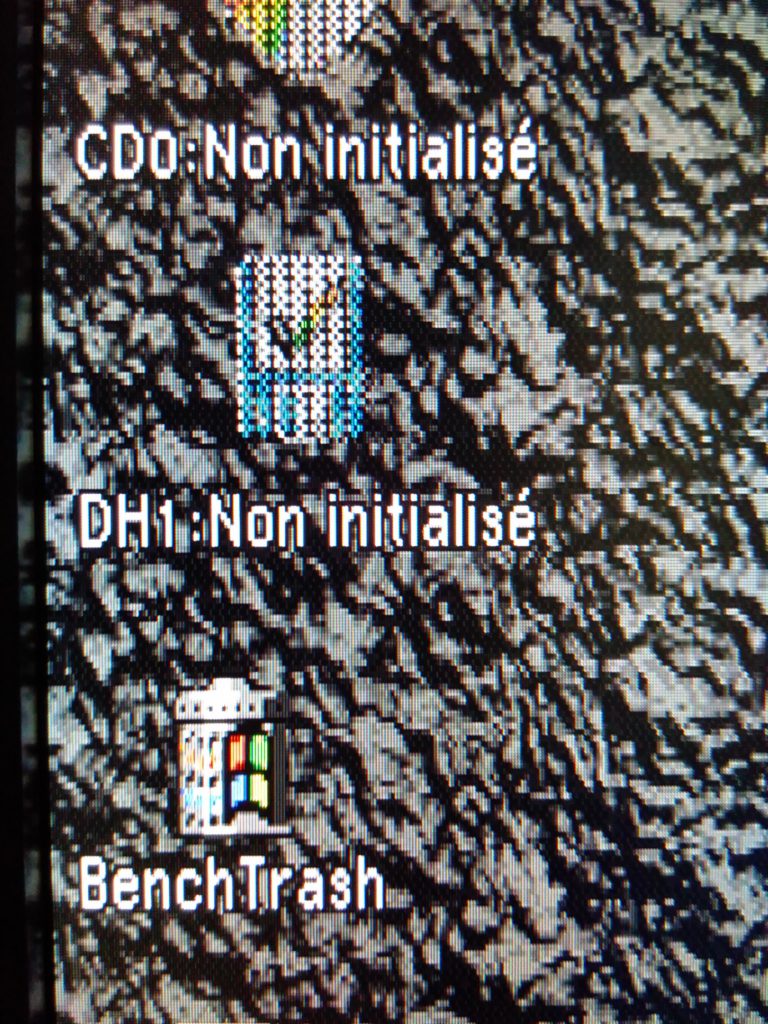
- NSDPatch je sèche … “Activation DH1: failed” (FR) Merci aux poto sur amigaimpact qui m’ont aidé à résoudre mon problème… bête car j’avais simplement pas appuyé sur entrée en paramétrant ma partition.
- http://obligement.free.fr/articles/sfs.php
- http://aminet.net/package/disk/misc/SFS
- A video (not by me) :